
Estimated reading time: 8 minutes
Introduction: Embarking on Your Ableton Journey
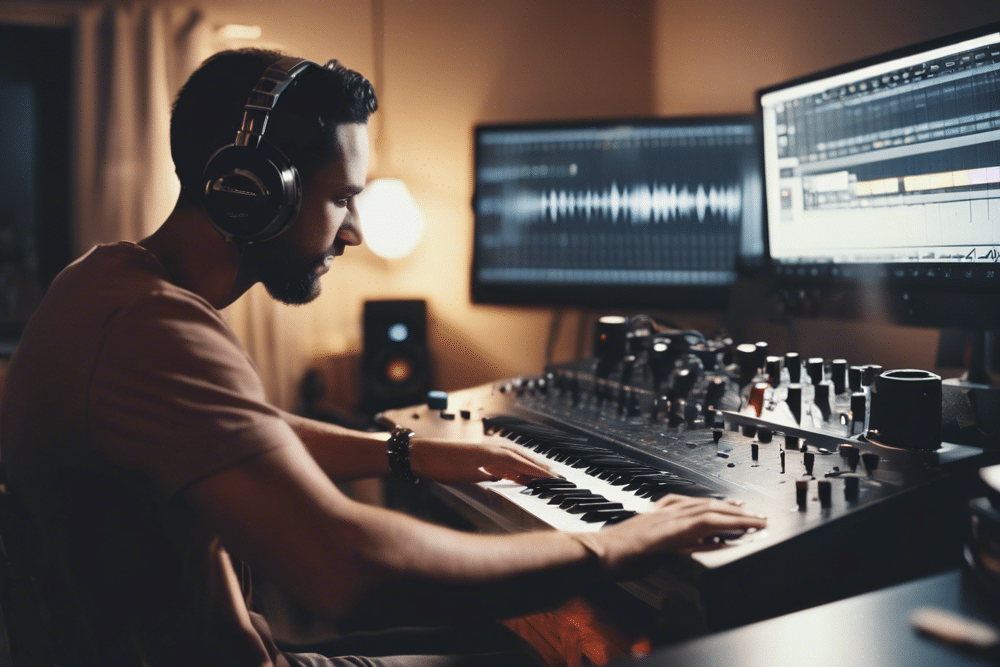
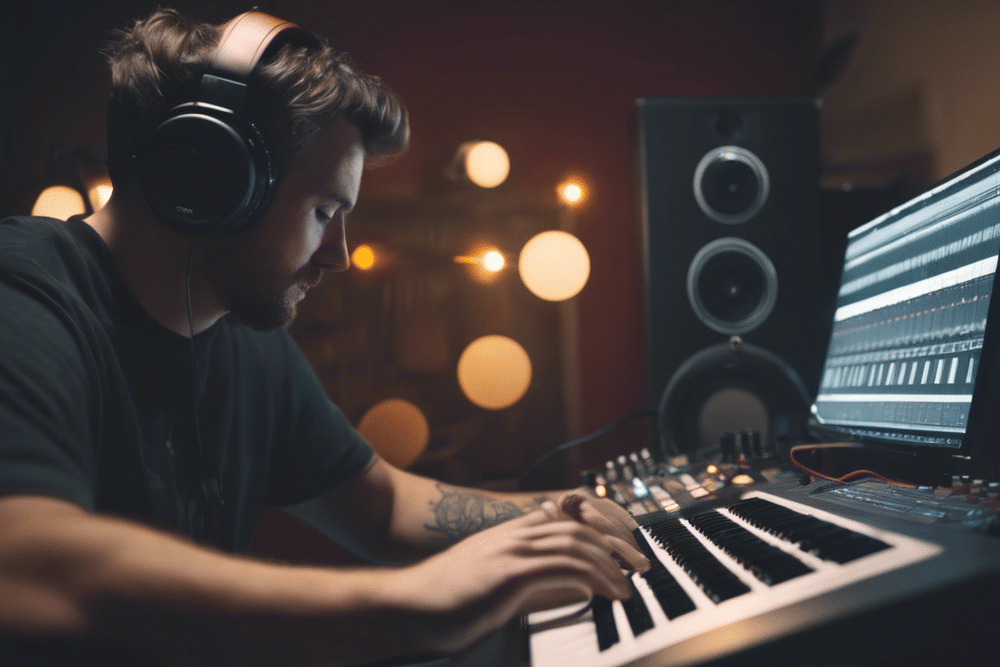
Are you ready to dive into the world of music production? Whether you’re a seasoned producer looking to expand your skills or a beginner eager to create your first track, learning Ableton Live is an exciting journey. This powerful digital audio workstation (DAW) has become a favorite among music producers across various genres, from electronic music to movie soundtracks and everything in between.
In this comprehensive guide, we’ll explore the ins and outs of Ableton Live, covering everything from the basics to advanced techniques. We’ll discuss how to get started, navigate the interface, work with audio and MIDI, and develop your skills to create professional-sounding tracks. So, let’s begin our adventure into the world of Ableton Live!
Table of contents
- Introduction: Embarking on Your Ableton Journey
- Getting Started with Ableton Live
- Understanding the Fundamentals of Music Making in Ableton
- Recording and Editing in Ableton Live
- Arranging and Composing in Ableton Live
- Mixing and Mastering in Ableton Live
- Advanced Techniques and Tips
- Continuing Your Ableton Education
- Video: Learn Ableton Live 11 – FULL COURSE (Beginners)
- Conclusion: Your Ableton Live Journey
- FAQs
Getting Started with Ableton Live
Choosing the Right Version
Before you dive in, it’s essential to choose the right version of Ableton Live for your needs. Ableton offers several options:
- Ableton Live Lite: A basic version often bundled with audio interfaces or MIDI controllers
- Ableton Live Intro: An entry-level version with essential features
- Ableton Live Standard: A more comprehensive version with additional instruments and effects
- Ableton Live Suite: The full package with all of Ableton’s instruments, effects, and features
If you’re just starting, you might want to begin with Ableton Live Lite or try the 90-day free trial of Ableton Live Suite to get a feel for the software.
Setting Up Your Workspace
Once you’ve chosen your version, it’s time to set up your workspace. Here’s what you’ll need:
- A computer (Mac or PC) that meets Ableton’s system requirements
- An audio interface for high-quality sound input and output
- Headphones or monitors for accurate sound reproduction
- A MIDI controller (optional, but highly recommended)
Navigating the Ableton Interface
When you first open Ableton Live, you’ll see two main views:
- Session View: This grid-like view is perfect for live performances and improvisation
- Arrangement View: This timeline view is ideal for traditional linear composition and recording
Take some time to familiarize yourself with these views and the various sections of the interface, such as the browser, device view, and mixer.
Understanding the Fundamentals of Music Making in Ableton
Working with Audio Tracks
Audio tracks are the foundation of many productions in Ableton Live. Here’s how to get started:
- Create a new audio track by right-clicking in the session view or using the shortcut Ctrl+T (Cmd+T on Mac)
- Use the browser to locate and drag audio samples into your track
- Adjust the volume, panning, and effects using the track’s mixer controls
Exploring MIDI and Virtual Instruments
MIDI tracks allow you to work with virtual instruments and create melodies, harmonies, and rhythms. To get started:
- Create a new MIDI track
- Load a virtual instrument from Ableton’s library or a third-party plugin
- Use your MIDI controller or the computer keyboard to play and record notes
Understanding Ableton Devices
Ableton Live comes with a wide array of built-in devices for shaping your sound:
- Audio effects: Compressors, EQs, reverbs, and more
- MIDI effects: Arpeggiators, chord generators, and note randomizers
- Instruments: Synths, samplers, and drum machines
Experiment with these devices to find your unique sound and style.
Recording and Editing in Ableton Live
Setting Up for Recording
Before you start recording, make sure your audio interface is properly configured in Ableton’s preferences. Then:
- Arm the track you want to record by clicking the record button
- Set your input source (microphone, instrument, etc.)
- Adjust your input levels to avoid clipping
Recording Audio and MIDI
To record:
- Click the global record button or use the shortcut F9
- Play your instrument or sing into the microphone
- Stop recording when you’re done
Editing Your Recordings
Ableton Live offers powerful editing tools for both audio and MIDI:
- For audio: Use warp markers to adjust timing, slice audio to create new samples, and apply fades and crossfades
- For MIDI: Use the piano roll editor to adjust notes, velocities, and add automation
Arranging and Composing in Ableton Live
Using Session View for Ideas
Session View is perfect for experimenting with musical ideas:
- Create different clips for various parts of your song (verse, chorus, bridge)
- Launch clips to hear how they sound together
- Record your clip launches into the Arrangement View to start building your track
Crafting Your Song in Arrangement View
Once you have your ideas, switch to Arrangement View to structure your song:
- Arrange your clips along the timeline
- Add transitions and build-ups
- Use automation to create movement and interest in your track
Understanding Song Structure
While there’s no one-size-fits-all approach to song structure, many popular songs follow a similar pattern:
- Intro
- Verse
- Chorus
- Verse
- Chorus
- Bridge
- Chorus
- Outro
Experiment with this structure and adapt it to fit your style of music.
Mixing and Mastering in Ableton Live
Basic Mixing Techniques
Mixing is the process of balancing and enhancing the individual elements of your track:
- Set appropriate levels for each track
- Use panning to create space in your mix
- Apply EQ to shape the frequency content of each element
- Use compression to control dynamics and add punch
Introduction to Mastering
Mastering is the final step in music production, preparing your track for distribution:
- Apply gentle EQ to balance the overall frequency spectrum
- Use compression to glue your mix together
- Adjust the overall loudness of your track
- Add limiting to prevent digital clipping
While Ableton Live can be used for mastering, many producers prefer dedicated mastering software or services for their final masters.
Advanced Techniques and Tips
Using Max for Live
Max for Live is a powerful addition to Ableton Live Suite, allowing you to create custom devices and extend Live’s functionality. Explore the Max for Live library to find unique tools for sound design and performance.
Incorporating External Hardware
Ableton Live works seamlessly with external hardware:
- Use External Instrument and External Effect devices to integrate hardware synths and effects
- Explore Ableton’s Push controller for a hands-on approach to production
- Set up custom MIDI mappings for your favorite controllers
Collaboration and File Management
Ableton Live makes collaboration easy:
- Use the Collect All and Save feature to gather all samples used in a project
- Share projects with collaborators using cloud storage services
- Explore Ableton’s online user groups and forums for collaboration opportunities
Continuing Your Ableton Education
Online Resources and Tutorials
The internet is full of resources to help you learn Ableton:
- Ableton’s official website offers extensive documentation and video tutorials
- YouTube channels like Sadowick Production and You Suck at Producing offer in-depth Ableton tutorials
- Websites like Sonic Academy and ADSR Sounds offer paid courses on specific aspects of Ableton and music production
Books and Courses
For a more structured learning experience, consider:
- “Making Music: 74 Creative Strategies for Electronic Music Producers” by Dennis DeSantis
- Online courses from platforms like Coursera or Berklee Online
- Local workshops or classes at music stores or community colleges
Practice and Experimentation
The key to mastering Ableton Live is consistent practice and experimentation:
- Set aside regular time to work on your music
- Try to recreate tracks you admire to learn new techniques
- Participate in online challenges and competitions to push your skills
Video: Learn Ableton Live 11 – FULL COURSE (Beginners)
Conclusion: Your Ableton Live Journey
Learning Ableton Live is an exciting and rewarding journey. As you progress, you’ll discover new ways to express your creativity and bring your musical ideas to life. Remember, every great producer started as a beginner, so don’t be discouraged if things seem challenging at first.
Keep exploring, stay curious, and most importantly, have fun with your music. Whether you’re creating electronic beats, scoring a film, or producing for other artists, Ableton Live provides the tools you need to realize your musical vision.
So, what are you waiting for? Open up Ableton Live, start experimenting, and let your creativity flow. Your next great track is waiting to be made!
Related Posts
FAQs
If you’re new to Ableton Live, start with either Ableton Live Lite, often bundled with hardware, or the 90-day free trial of Ableton Live Suite to explore all features. Once you’re familiar with the software, choose a version that suits your production needs.
You’ll need a computer that meets Ableton’s system requirements, an audio interface for sound input/output, headphones or monitors for accurate sound, and optionally, a MIDI controller to easily play and record notes.
Ableton Live has two primary views: Session View, ideal for live performance and improvisation, and Arrangement View, perfect for linear composition and recording. Familiarize yourself with both to take full advantage of Ableton’s workflow.
Set up your audio interface in preferences, arm the track, and click the global record button. For audio, sing or play an instrument; for MIDI, use a MIDI controller or computer keyboard. Stop recording when done and edit using Ableton’s tools.
Start by setting appropriate levels for each track, use panning to create space, apply EQ to shape frequencies, and use compression to control dynamics. These techniques will help you achieve a balanced and polished mix.